Digging
Posted By: rocket veg Category: Compost, Growing Veg, Seasonal AdviceLike all keen gardeners, I can’t wait to get going again and make a start with this year’s sowing, growing and harvesting. I’m an impatient gardener who finds this time of year frustrating as there is little to do on my allotment, other than tidy the shed and dig a bean trench (both done) and carry out any running repairs when the winter weather has done its worst to my fruit cage and displaced the covering over various beds. Rain and snow also do their best to hold things up on the gardening front…
However, there is one job which I can get on with on mild days following a dry spell, when the ground isn’t waterlogged - and that’s digging. Digging can be fun, so before you rush for spade or fork, remember that disturbing the soil too much, which includes treading on it, is likely to damage the delicate structure so choose an optimum time – and tread warily.
Why dig
Digging should only be done with a purpose – no point in simply turning over a patch of soil for no good reason. The overall aim should be to prepare the soil ready for sowing and planting when spring arrives, clearing the ground of weeds, larger stones and other debris as you go. If you have recently taken on a neglected allotment plot, once the brambles and other nasties have been cut down and cleared away, now is a good time to do some serious digging to get ahead of the game. Remove all traces of weeds and grass, then turn the soil over with a digging spade and simply leave it standing in lumps, ready to be broken down by frost action – a great help when the time comes to rake the soil and create a fine ‘tilth’ ready to sow seed.
How to dig
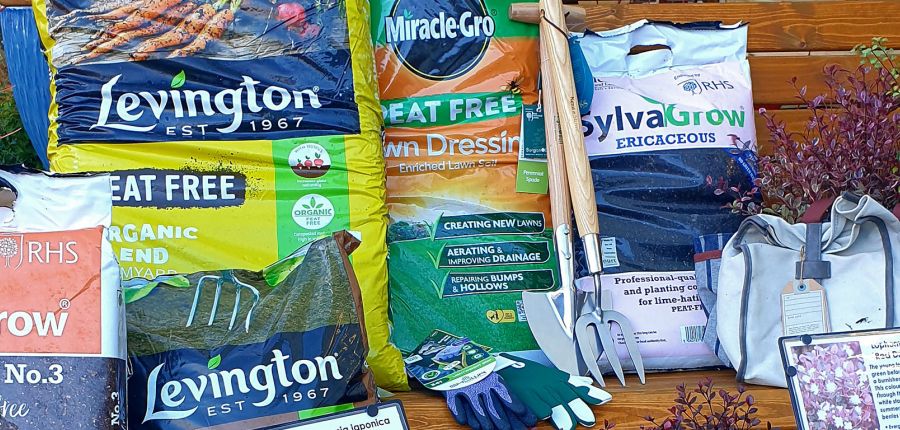
Spade or fork? Both have their uses – spades designed to create holes (think bean trenches, planting a gooseberry bush or fruit tree); for shovelling and shifting soil and the like. Use a digging fork to sift through the soil and remove any roots, the white, trailing variety in particular which are most likely to be bindweed or couch grass, both of which are a real nuisance if left to grow unchecked as they will stifle the growth of your precious crops. I have a favourite digging fork with short tines and sharp points, perfect for this task.
Grassy patches are best dealt with by stripping off the top layer (‘turf’) with deft, shallow cuts with a spade, and either stacking this ‘green side down’ so that eventually it will rot and convert to wonderful topsoil, or add it to the bottom of a trench, again to rot and improve the ground.
Enriching the soil
Ask an experienced allotmenteer why their crops look so amazing and you are likely to get a reply along the lines of ‘the secret is in the soil’. Adding the right kind of nutrients in the form of homemade compost, manure, leaf mold, shredded bark or similar, will make a significant difference to the crops that you grow. The best time to do this is in the autumn when the bed(s) can then be covered, protecting the soil and encouraging worms and other soil-loving creatures to drag the rich matter down, digesting it in the process. Roll back the covering when spring finally arrives to reveal wonderful, rich soil and off you go!
A few words about the ‘No-dig’ method
Much as I enjoy the satisfaction from turning over a strip of land with fork or spade, I am increasingly interested in the principles of ‘No-dig’ gardening, whereby large amounts of nutrient-rich organic matter are heaped in a deep layer onto the soil, encouraging nature to get to work. Cover the ground with large sheets of soggy cardboard is a great way to start the process as organic matter can then be heaped on top. Whatever covering you employ, disturbing the soil as little as possible allows the various soil creatures and microbes to do build up the soil structure, improving moisture retention, as well as stifling weed growth. If it is to work successfully, ‘No-dig’ gardening requires long-term commitment and access to large quantities of manure and other organic matter.


