Preparing soil for sowing
Posted By: rocket veg Category: Growing Veg, Seasonal AdviceOne of my favourite jobs at this time of year is preparing a piece of ground for sowing seed. It’s a satisfying task, getting a patch of scruffy ground - the odd weed poking through and the surface dotted with stones and a few shards of glass (where does all the broken glass come from?!) - into a suitable state in which to sow the finest of seed. If the ground has been covered over the winter months with a sheet of black membrane, the job will be much easier in that there should be few, if any, weeds and the organic matter which you top-dressed the bed with last autumn will have been worked into the soil by all those helpful worms.
Tools for the job
Arm yourself with a digging fork, a flat rake and a bucket in which to put stones – then make a start by removing all traces of weed, especially roots. Try and avoid trampling over the soil, either using an old plank to stand on or by working a small(ish) area at time, which is where raised beds come into their own as you can work the work bed from a path. Once the soil is clear, you are ready for the fun bit.
How to rake soil
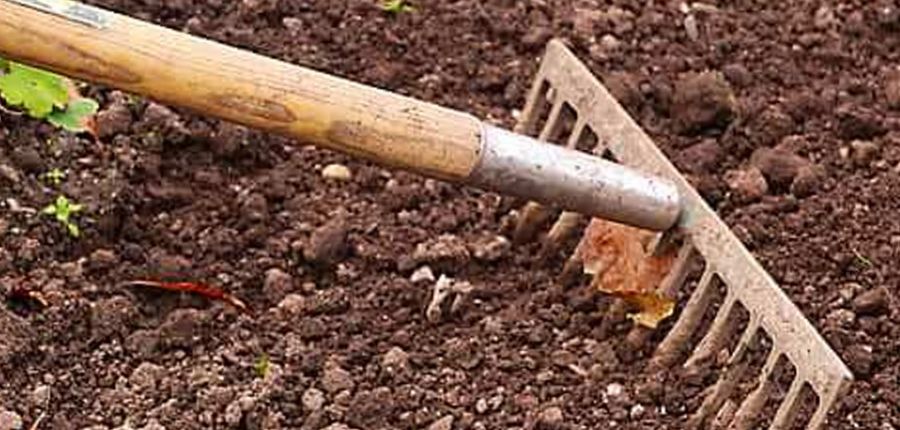
Raking is one of my favourite gardening tasks, a relaxing activity with a very satisfying end result. Take your time: push and pull the toothed blade back and forth with a rhythmic swing, gently teasing the soil’s surface to break up lumps of soil, drawing the stones and other bulky matter towards you. If you need to prepare a large bed, begin at the far end and walk backwards as you rake, drawing the soil towards you. Once the stones are removed (good for helping to fill a pothole in the allotment trackway), use the flat end of the rake head to break up any small lumps and then admire your handywork - creating what is a referred to as a ‘fine tilth’. The whole process is good for mindfulness….
A word of advice: only prepare a bed in this way when you are ready to sow seed as the fine surface you have so painstakingly created will dry out quickly in the sun or when the wind blows and will form a hard surface when rained upon.
Sowing seed…
… is another satisfying task with the promise of good things to come in the form of tasty crops! The trick is to avoid walking on the super smooth soil which you have just created, so use a plank which can be laid between where the rows of seed are to be sown. As you go, mark out each row with a length of string stretched between two short canes. Give the ground a gentle sprinkling with a watering can, then use a blunt stick to create a shallow groove (a ‘drill’) in which you can place the seed. Before doing the actual sowing, read the guidelines on the seed packet about spacing and depth of the particular variety of seed. I find it easier to tip a quantity of seed into a shallow container from which you can take seeds as required, rather than from the packet which you may need to store unused seed. Once sown, cover the seeds with soil, then mark each end of the row and add a label with the variety and date sown.
All being well the first sign of your seedlings should appear a week or two later, depending on the weather. From then on, be sure to keep the seedlings free of weeds or all your hard work will be in vain.


